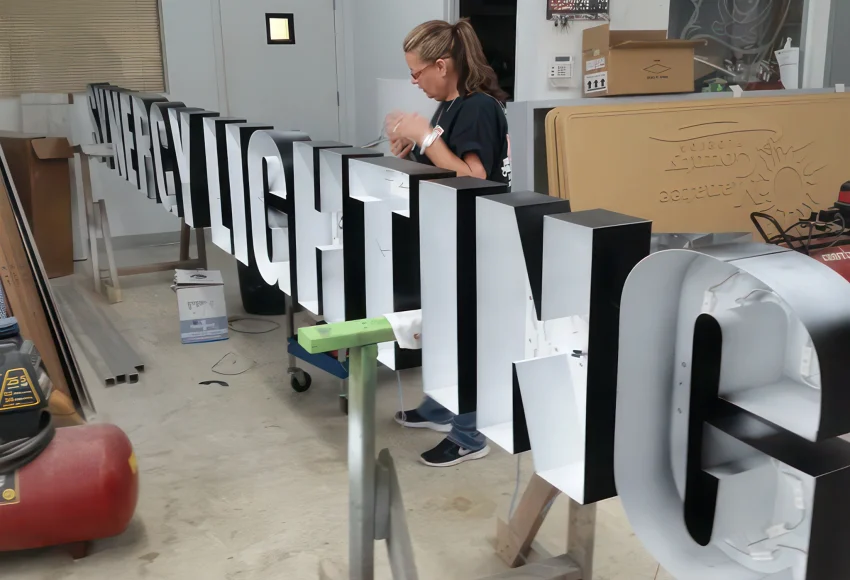
Procedure for Installing Channel Letters
Prepare the Surface
- Ensure the wall or mounting surface is clean, dry, and level.
- Verify the wall structure can support the weight of the channel letters.
Create a Mounting Template
- Use the manufacturer-provided paper or acrylic template.
- Tape or fasten the template securely on the wall in the exact installation position.
- Confirm alignment with a level.
Mark Drill Holes
- Mark all drill points for electrical wiring, mounting studs, or raceways.
- Double-check that all marks correspond with the channel letter backs.
Drill Holes
- Drill holes according to the marks for electrical and mounting needs.
- Use the correct drill bit size for anchors or studs.
Install Electrical Components
- Run the necessary conduit and wiring through the wall or raceway.
- Ensure compliance with local electrical codes.
- Provide power supply connections for LEDs or neon transformers.
Mount Channel Letters
- Insert the studs or anchors into the pre-drilled holes.
- Secure each channel letter in place, tightening nuts or bolts as required.
- For raceway-mounted letters, fasten the raceway to the wall first, then attach letters.
Make Electrical Connections
- Connect each letter’s wiring to the power supply.
- Use waterproof connectors or wire nuts where necessary.
- Test each letter for proper illumination before sealing.
Seal and Finish
- Seal any wall penetrations with silicone to prevent water intrusion.
- Remove the installation template carefully.
- Clean the letters and surrounding area.
Final Testing
- Turn on the entire system.
- Check for uniform lighting, proper alignment, and secure mounting.
- Make adjustments if necessary.


Leave a Comment